Cities are great big fun playgrounds for photographers to get out and about with their cameras after dark! The colours of the lights, movements of vehicles and people and events create opportunities to capture movement, light trails and to introduce a sense of time and motion into longer exposures. Trains and buses make for great subjects for shorter exposures, but also allow us to get creative with leading lines that capturing light trails can achieve. While rain might scare us away when it comes to sunrises or sunsets, night cityscape photographers make use of puddles and reflections from wet surfaces to add depth and even more colour to their images.
Put on a pair of comfortable walking shoes and clothing, get those camera batteries charged and the rest of your gear packed (make sure you don’t forget the NiSi Natural Night Filter) and head out exploring with our night time cityscape photography tips for capturing movement and light trails!
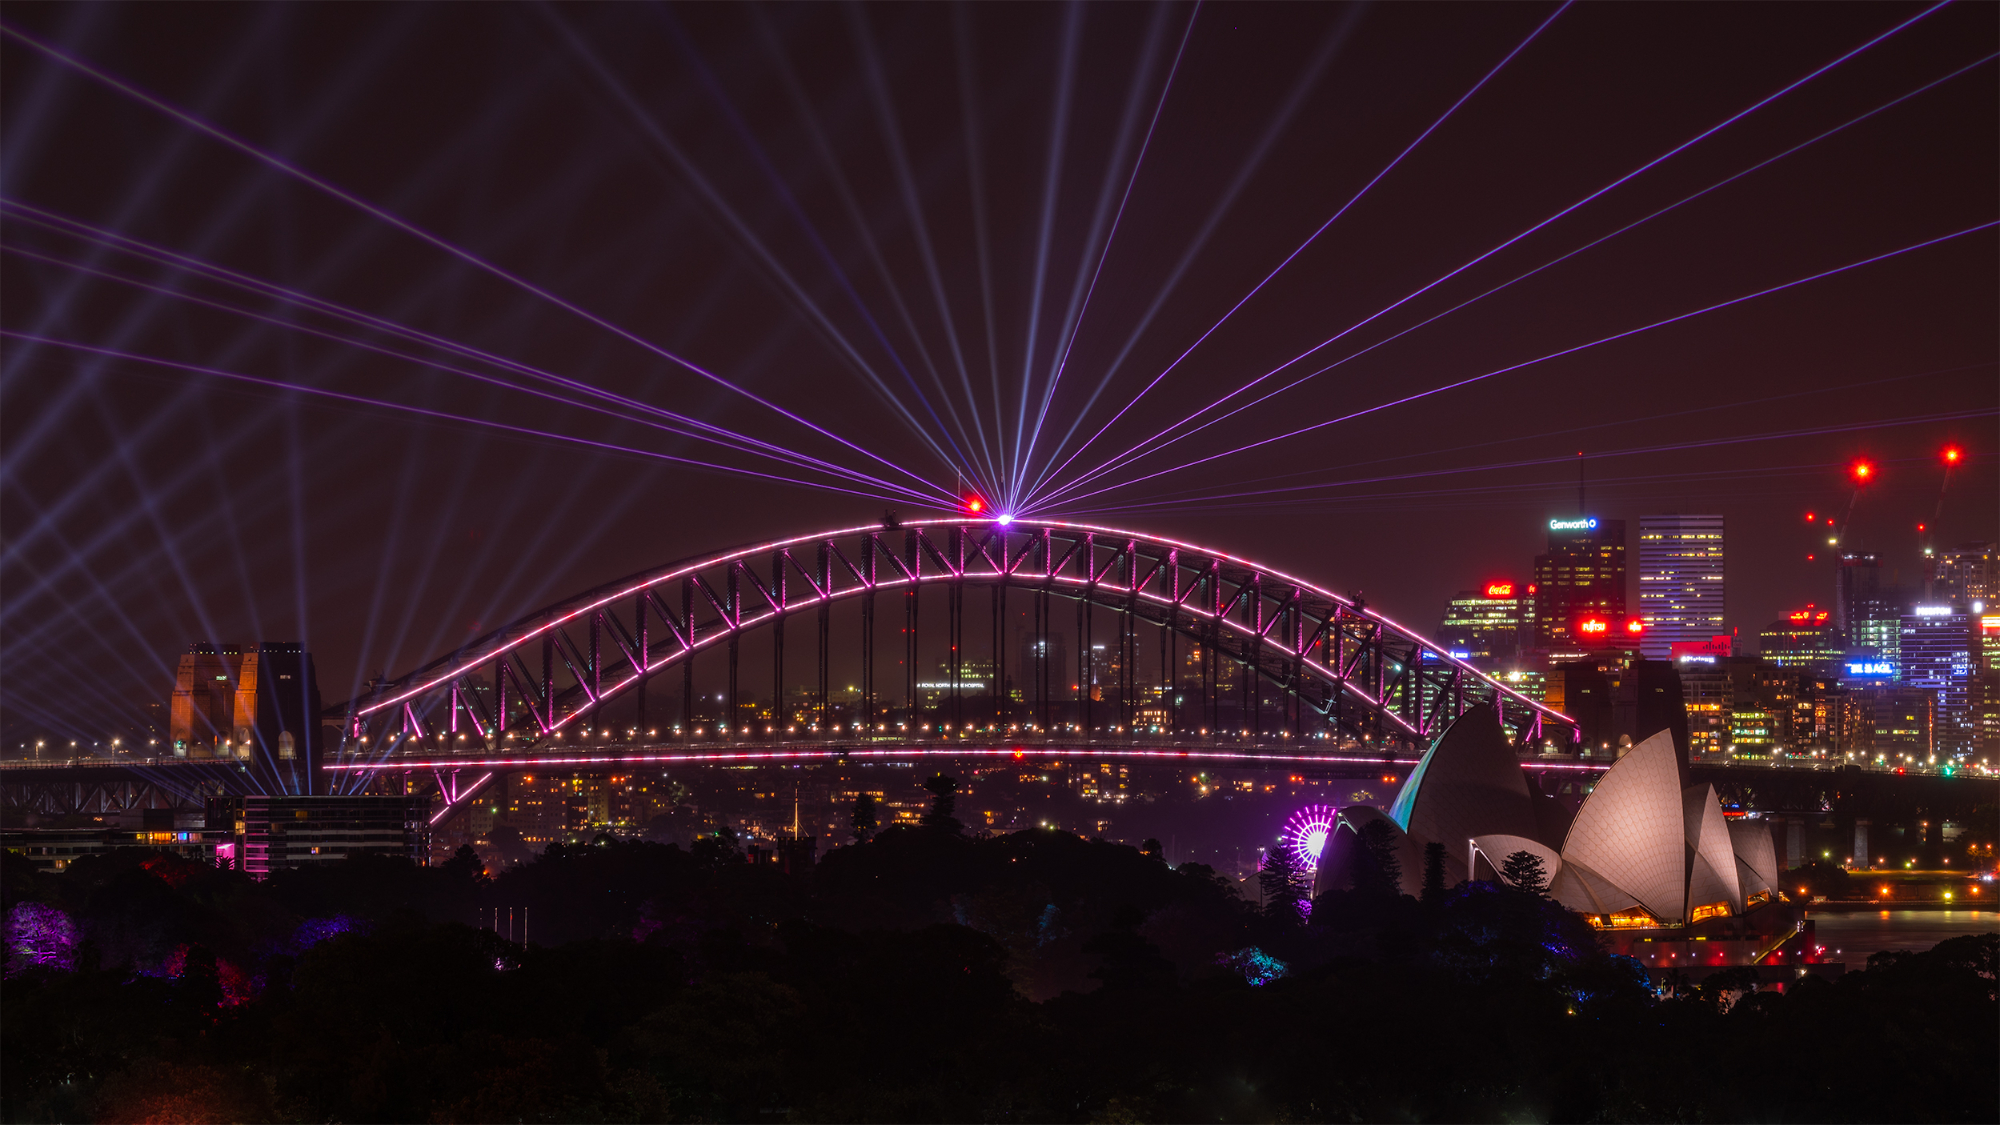
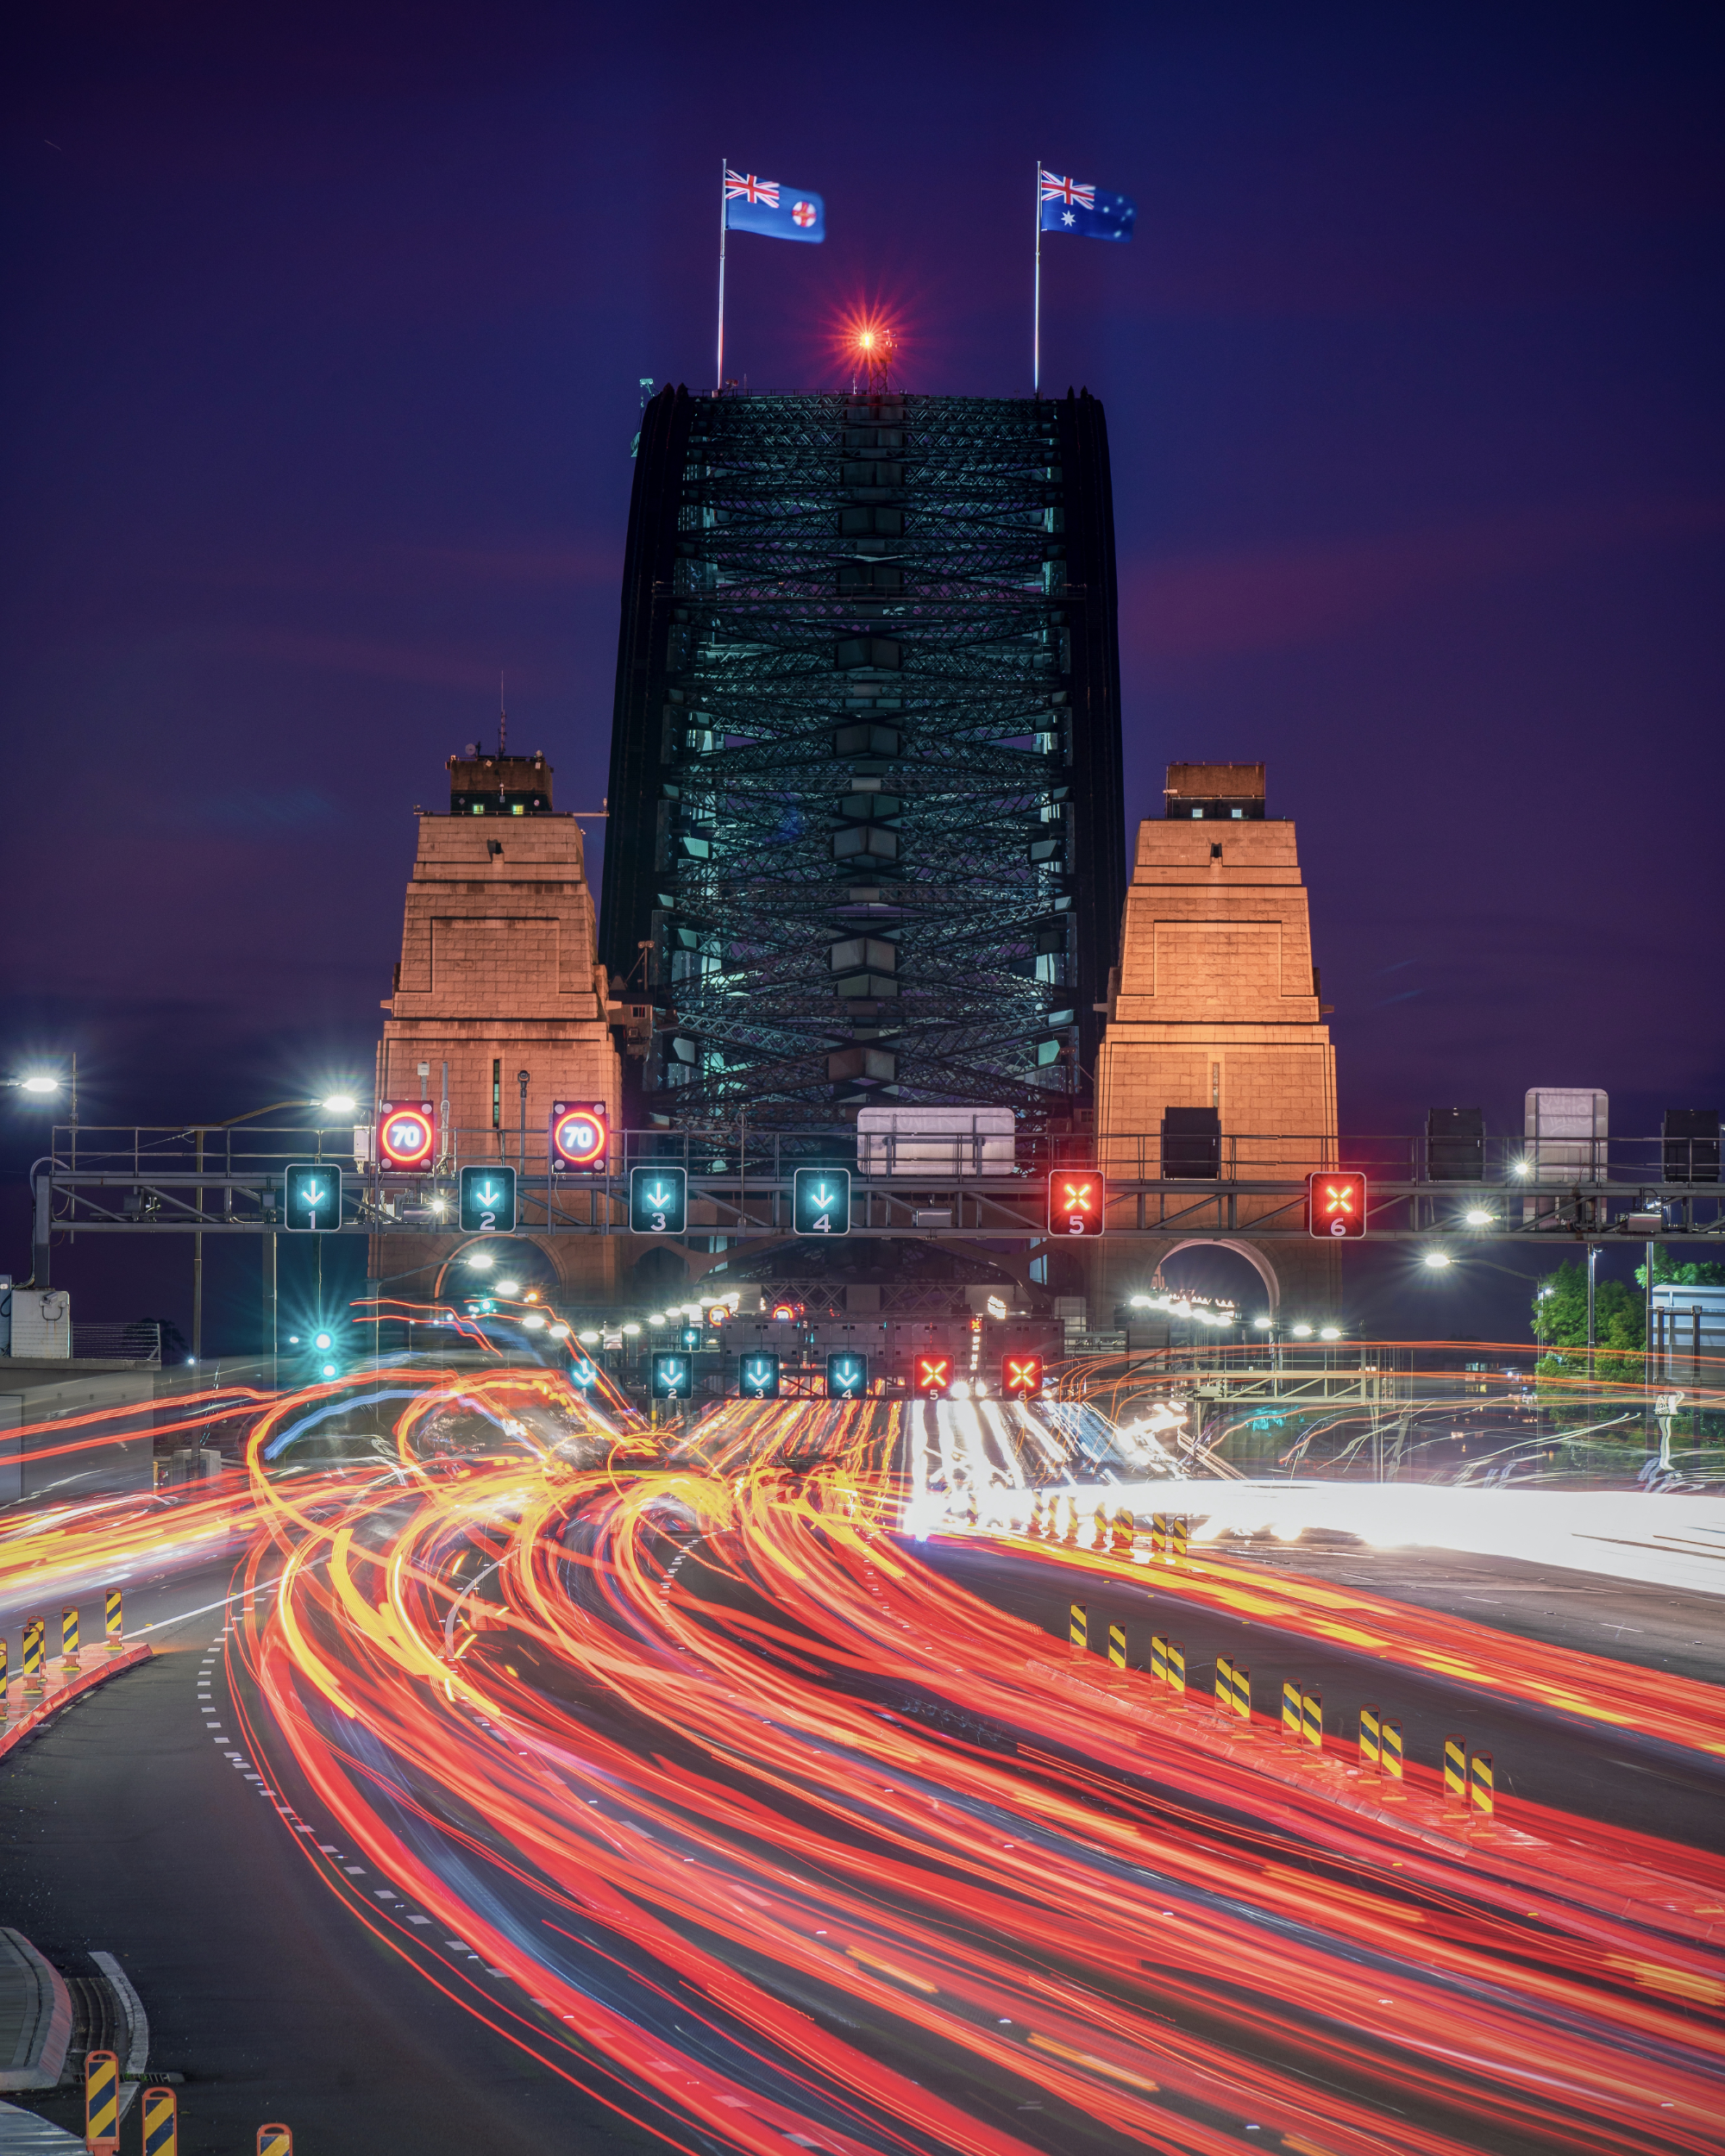
1. Use long exposures to capture movement
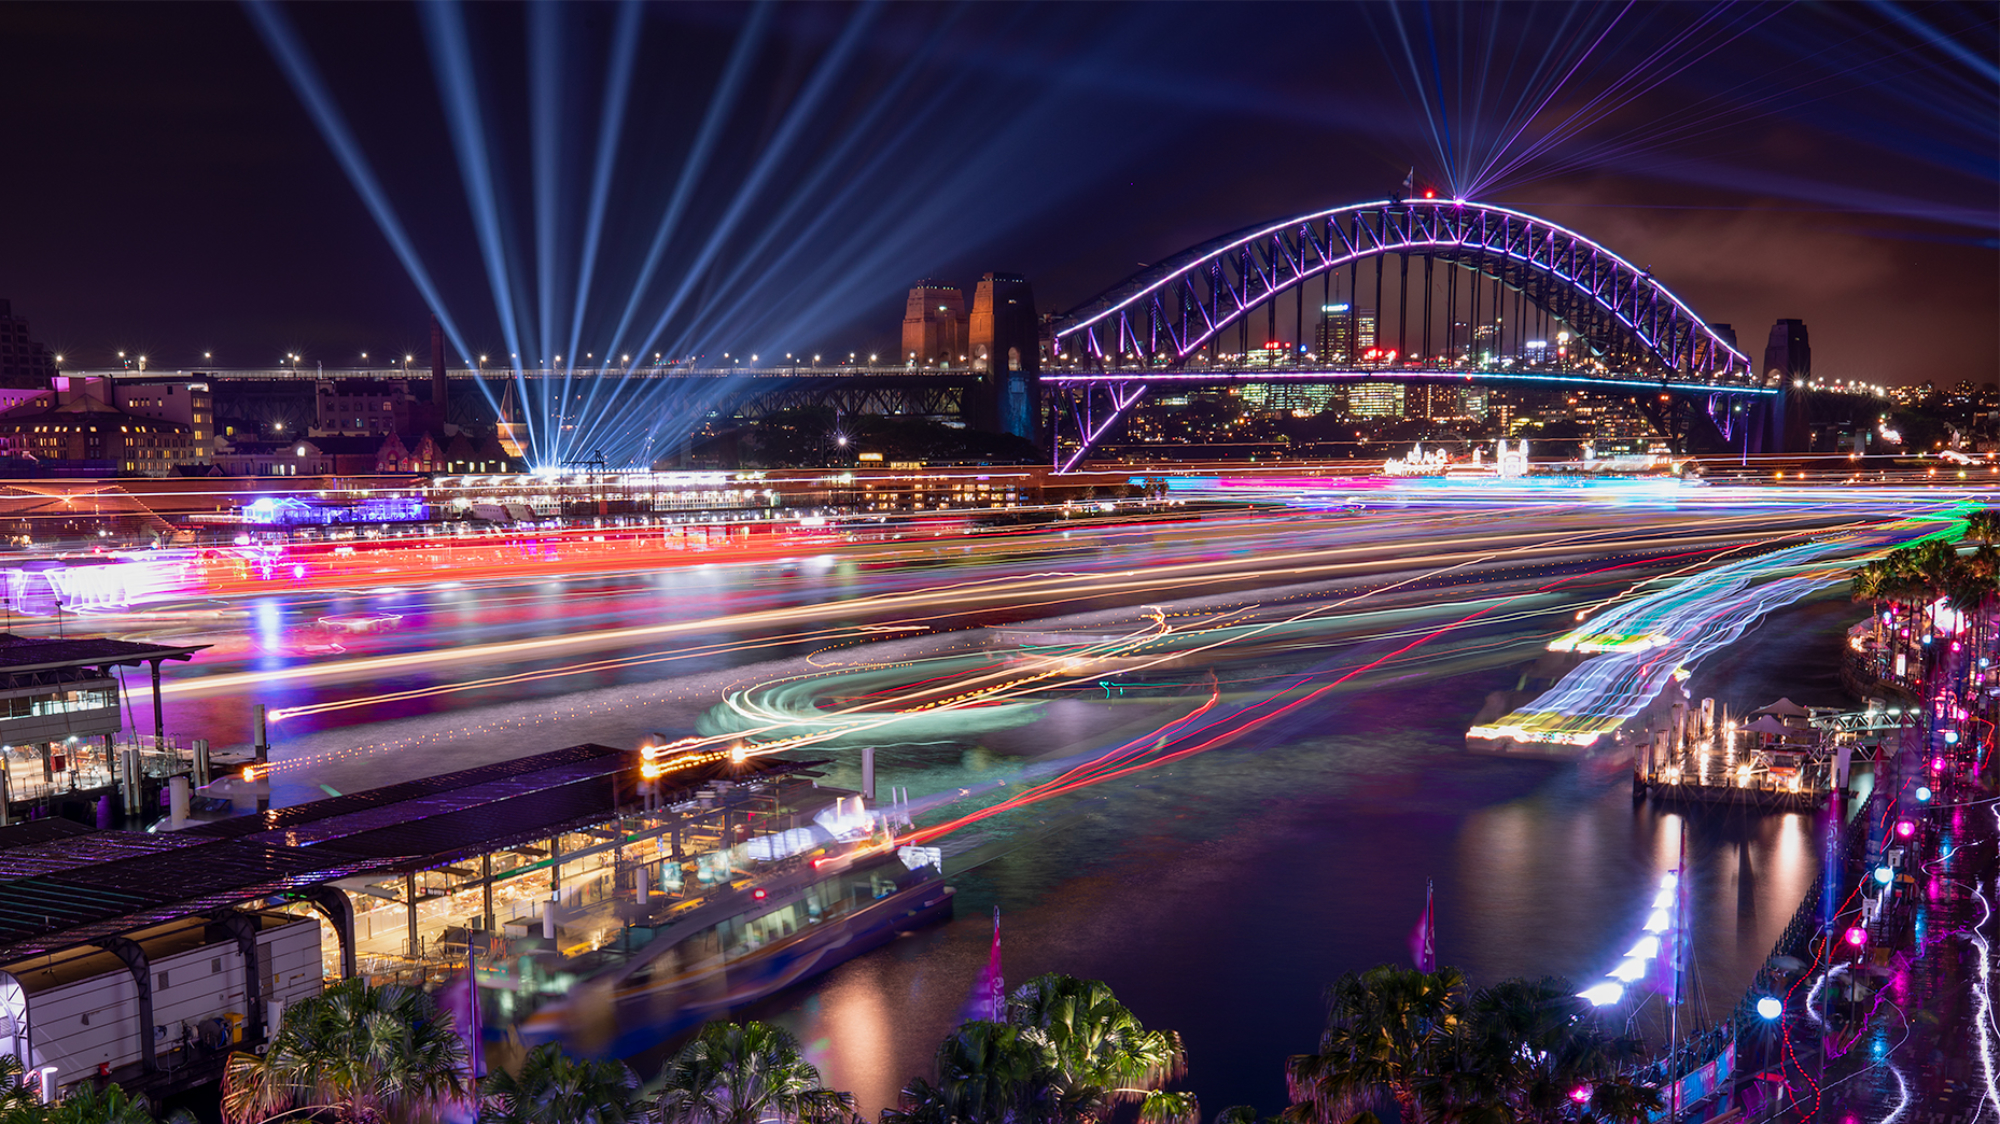
Night time cityscape photography provides opportunities to capture moving elements that contain lights that are often brighter than the rest of a scene. Elements like moving cars, buses, boats, trains and even people can be captured with shutter speeds of 0.25 seconds and above.
These moving elements can create light trails that “move” through a scene as the camera shutter is held open.
Light trails are great for introducing a sense of time passing, to show movement, and to create lines that can lead a viewers eyes through your image. In most cases the longer the shutter speed, the longer the trails of light. Experiment with your shutter speed to get the best effects and to capture as much detail as possible in the lights from any moving objects.
2. Use a stable tripod to capture longer exposures
Stability is extremely important when you are capturing longer exposure images. A good tripod and ball-head will be able to keep your camera sturdy and free of vibrations caused by wind, passing traffic, people and any other number of things that can cause even the slightest of movement.
A recommendation is to get a tripod that allows you to work at eye level when you are standing straight, is made of carbon fibre for strength, rigidity and overall weight. Size matters. Don’t get anything that is too heavy to not comfortably carry on those long late-night walk around that night cityscape photography often brings!
3. Turn off image stabilisation when using a tripod
Image stabilisation in either the camera body, or within the lens itself is great when shooting handheld. Little motors allow for the shifting of either the camera sensor (in body stabilisation) or the elements within the lens to compensate for movement introduced through the natural movement of your body.
But when a camera is mounted to a tripod, image stabilisation can cause a loss of sharpness due to the tiniest of movements still happening as IS continues to actively attempt to stabilise itself (even through the camera is already stable). When shooting night time cityscape images while the camera is attached to a tripod, disable all active image stabilisation options to prevent these attempts at compensating for movement when there is no movement of the camera.
4. Try to keep ISO low to control noise and for longer exposure times
Shooting when it is dark often requires the use of higher ISO settings to compensate for the lack of light being collected by the sensor. The ISO setting controls the “amplification” of the signals (light information) collected by the camera sensor.
A setting of ISO200 effectively doubles the “amplification” of the light information as compared to shooting in ISO100. This allows for shutter speeds (when all other factors in the exposure triangle are equal) to be controlled for either faster shutter speeds (higher ISO settings), or slower shutter speeds (lower ISO settings) to be used.
Higher ISO settings often result in more noise (the result of a degradation of signal quality due to the “amplification” process”) to appear in shadow areas of images. This is especially noticeable when processing images and trying to lift details out of those darker parts of exposures.
When shooting night time cityscape images, there will generally be a lot of darker areas throughout your scenes. Shooting at as low of an ISO setting as possible to allow for your desired shutter speed will help to produce higher quality, sharper images with as much details maintained as possible throughout the entire tonal range.
5. Example camera settings
Every scene is going to be different in terms of required camera settings. It all depends on how much light is available and what you are trying to achieve in your images in terms of your own personal style. If you want to maintain details in moving elements such as buses or cars, a faster shutter speed will be required. To create longer light trails, slower shutter speeds will be more suitable. Shooting handheld will require much faster shutter speeds.
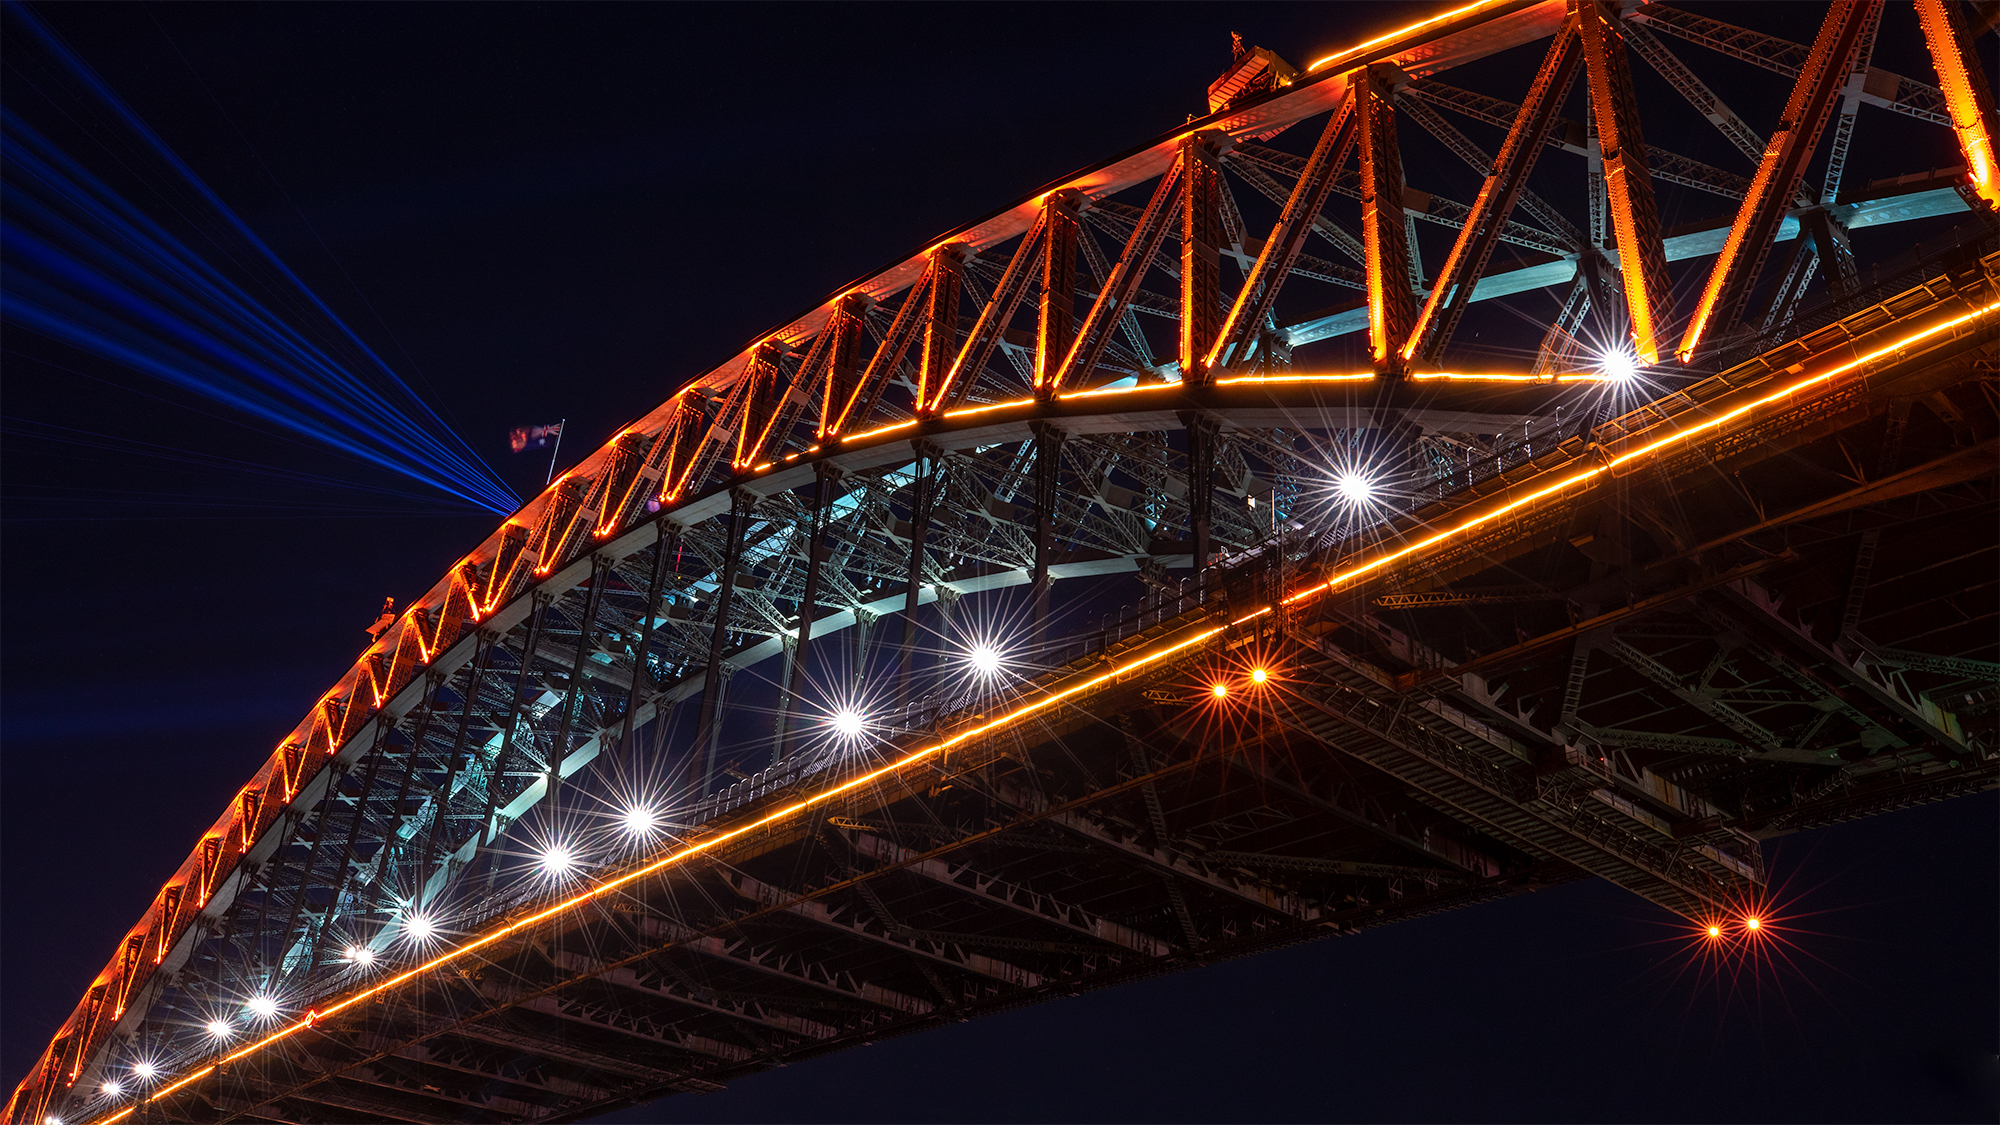
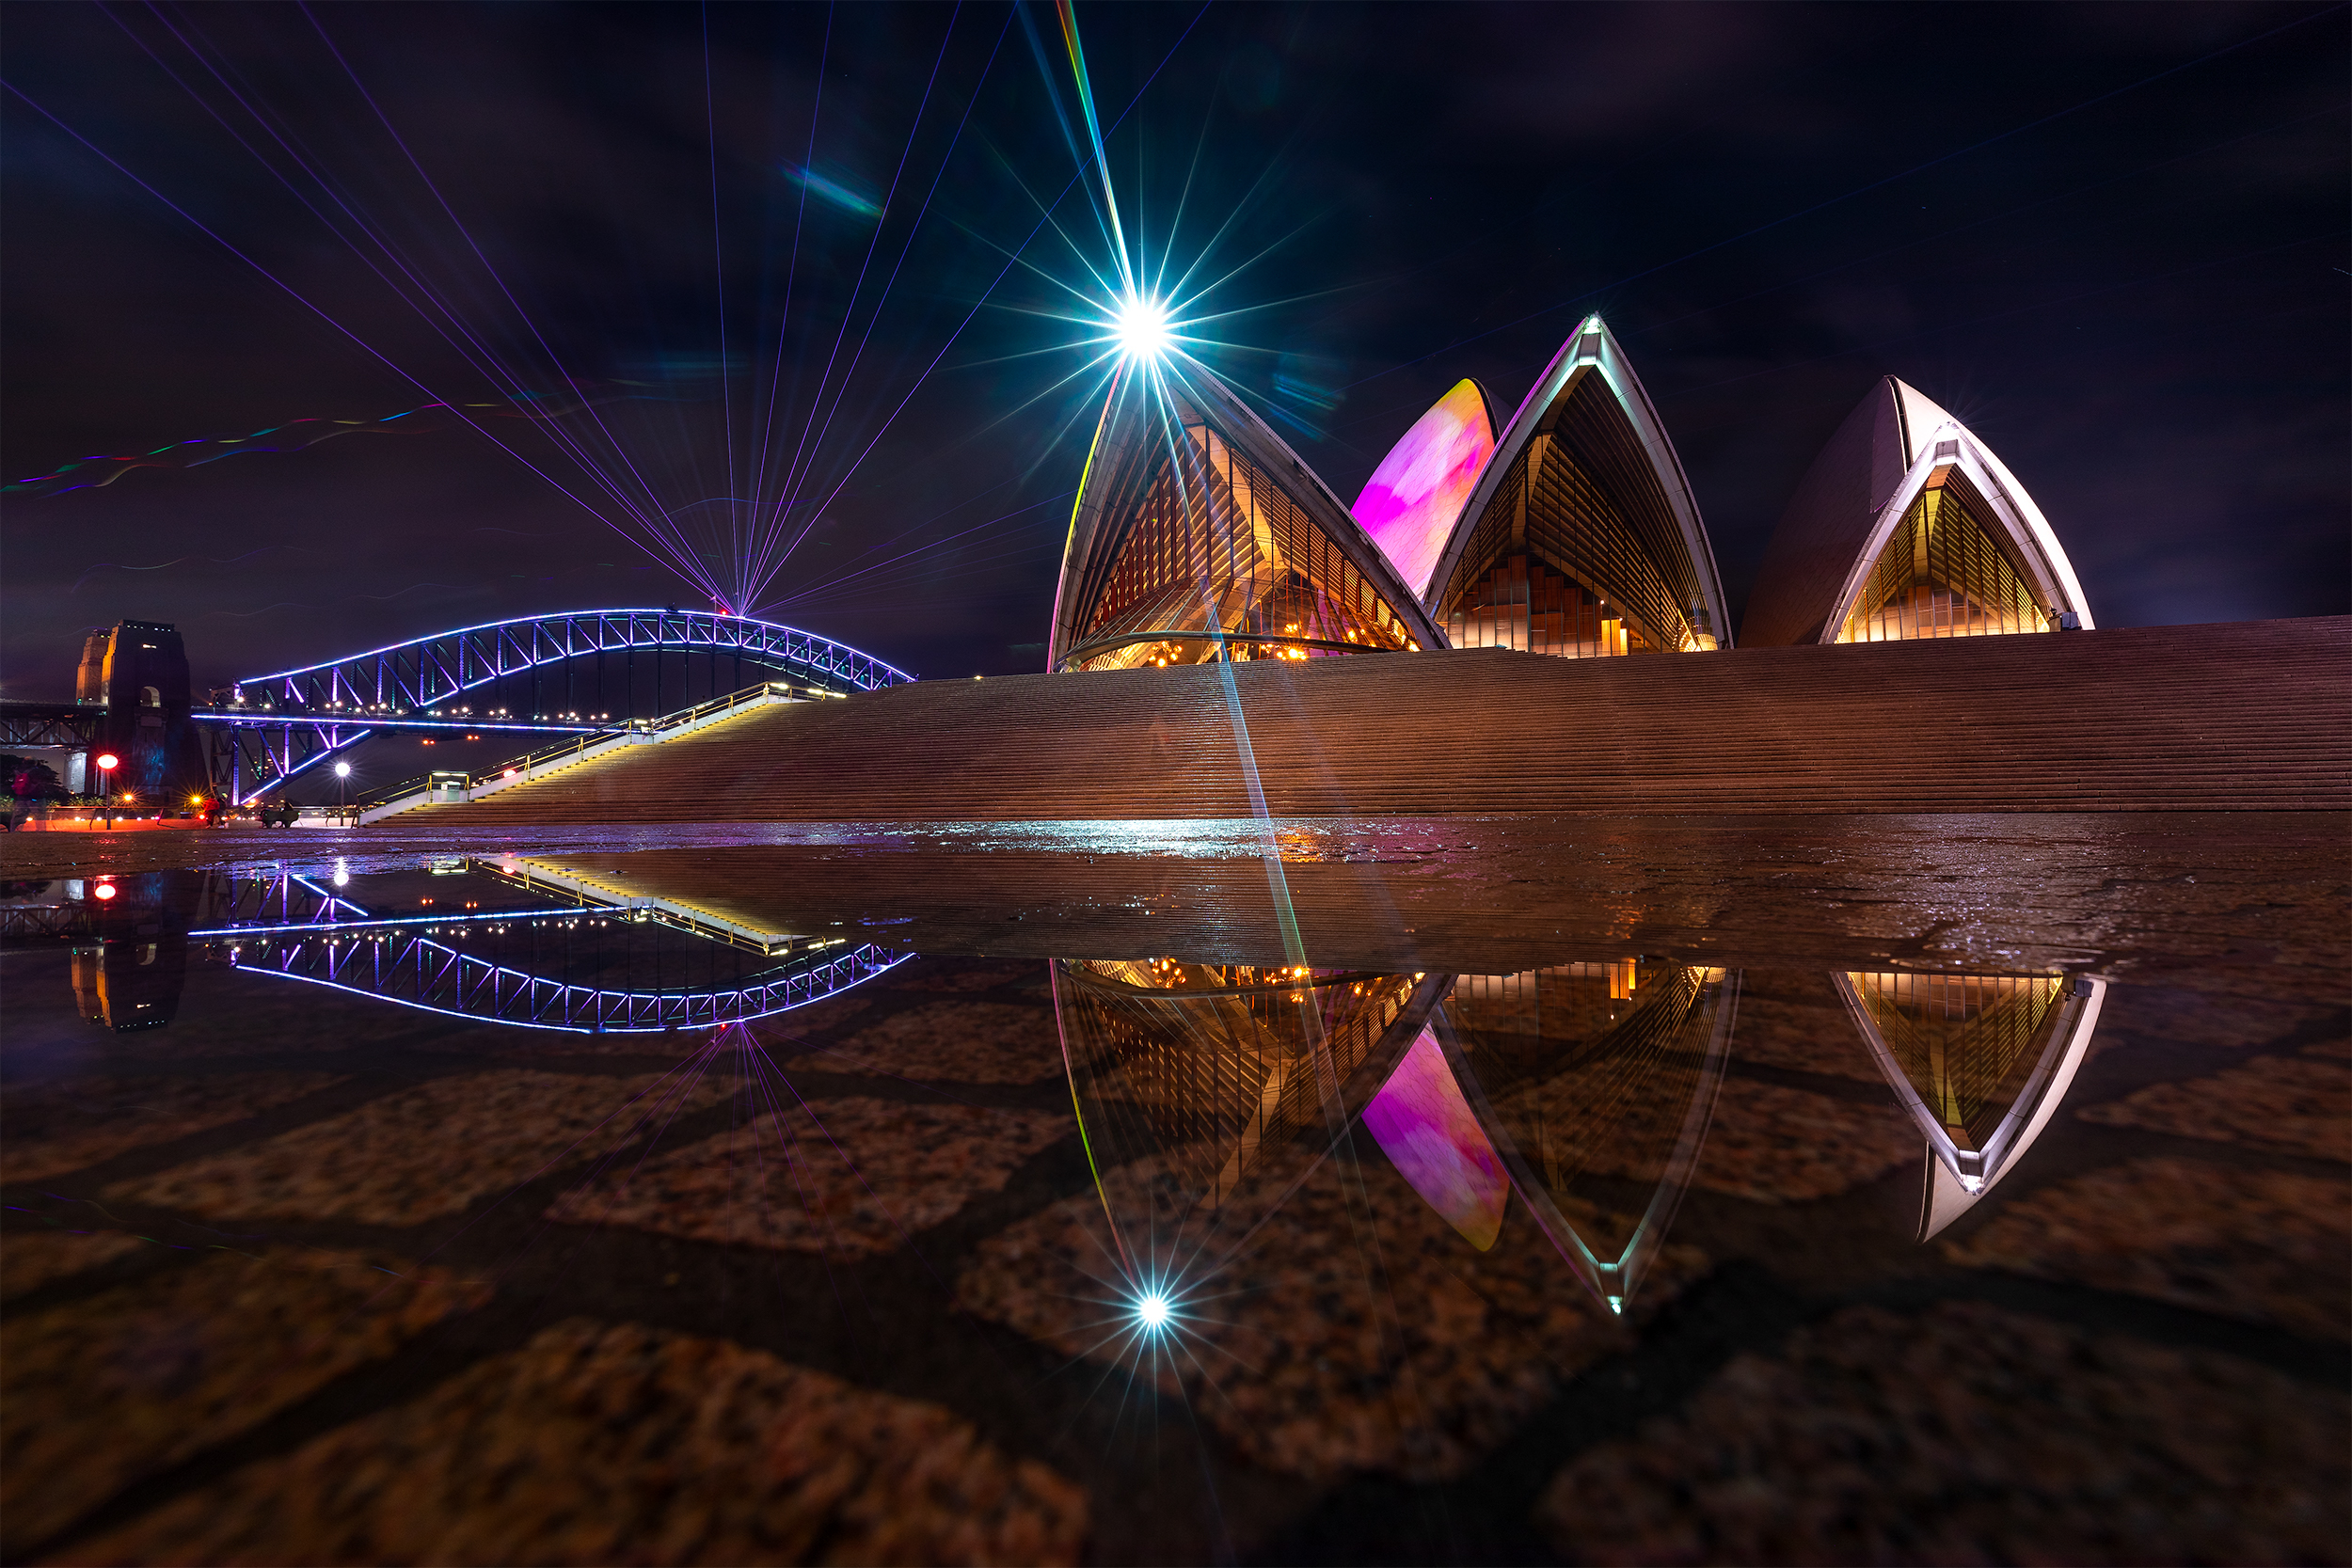
A common technique with night cityscape images is to shoot with a narrow aperture to create sunstars from brighter light sources. An aperture of f/16 on most high-quality lenses from many manufacturers will produce clean sunstars. We also have the NiSi 15mm f/4 Sunstar Super Wide Angle ASPH lens which produces clean sunstars throughout the aperture range of f/4 – f/22!
As you get to know the requirements of the exposure triangle and get more experienced with both the shooting and post-processing techniques it is possible to get creative with blending different images together to achieve results to get the most detail and impact from your images!
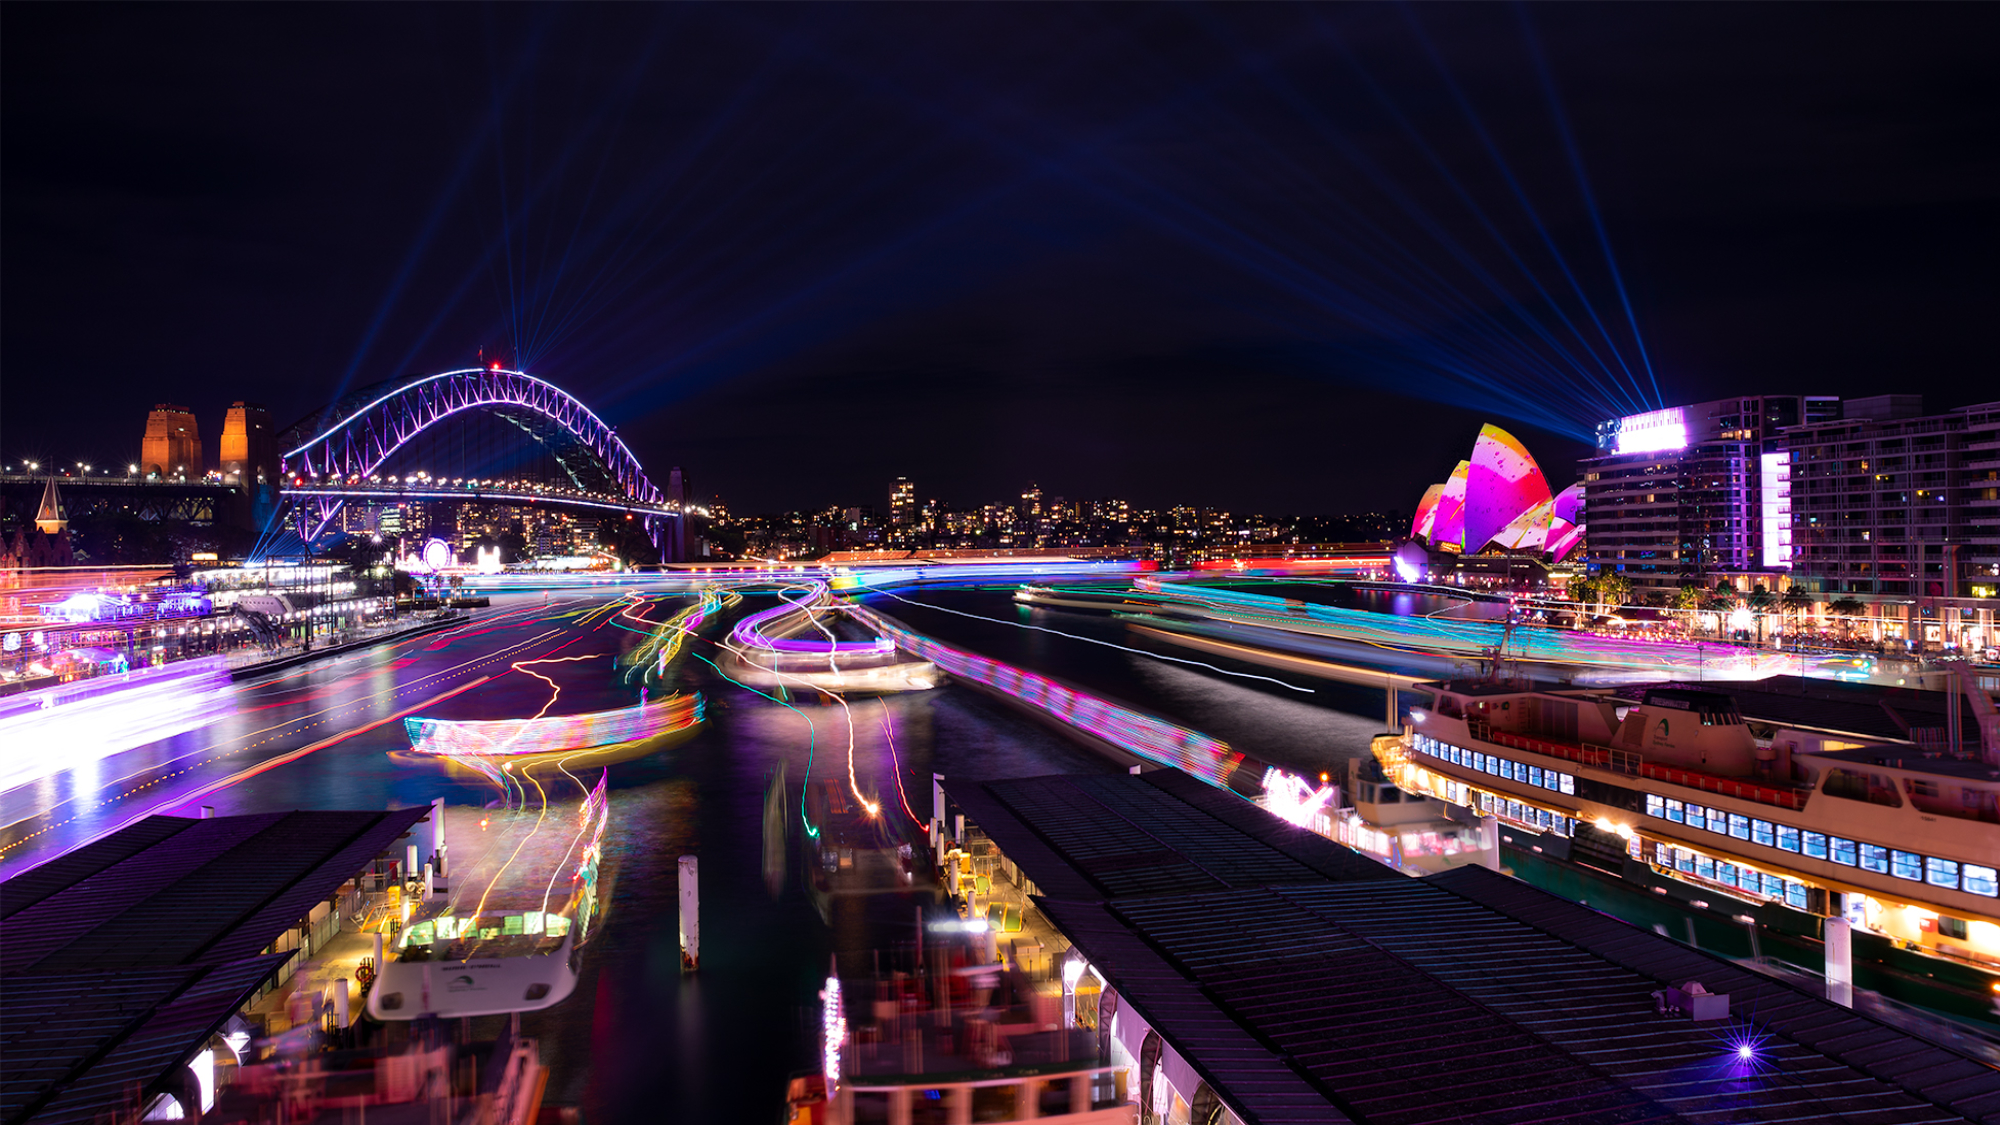
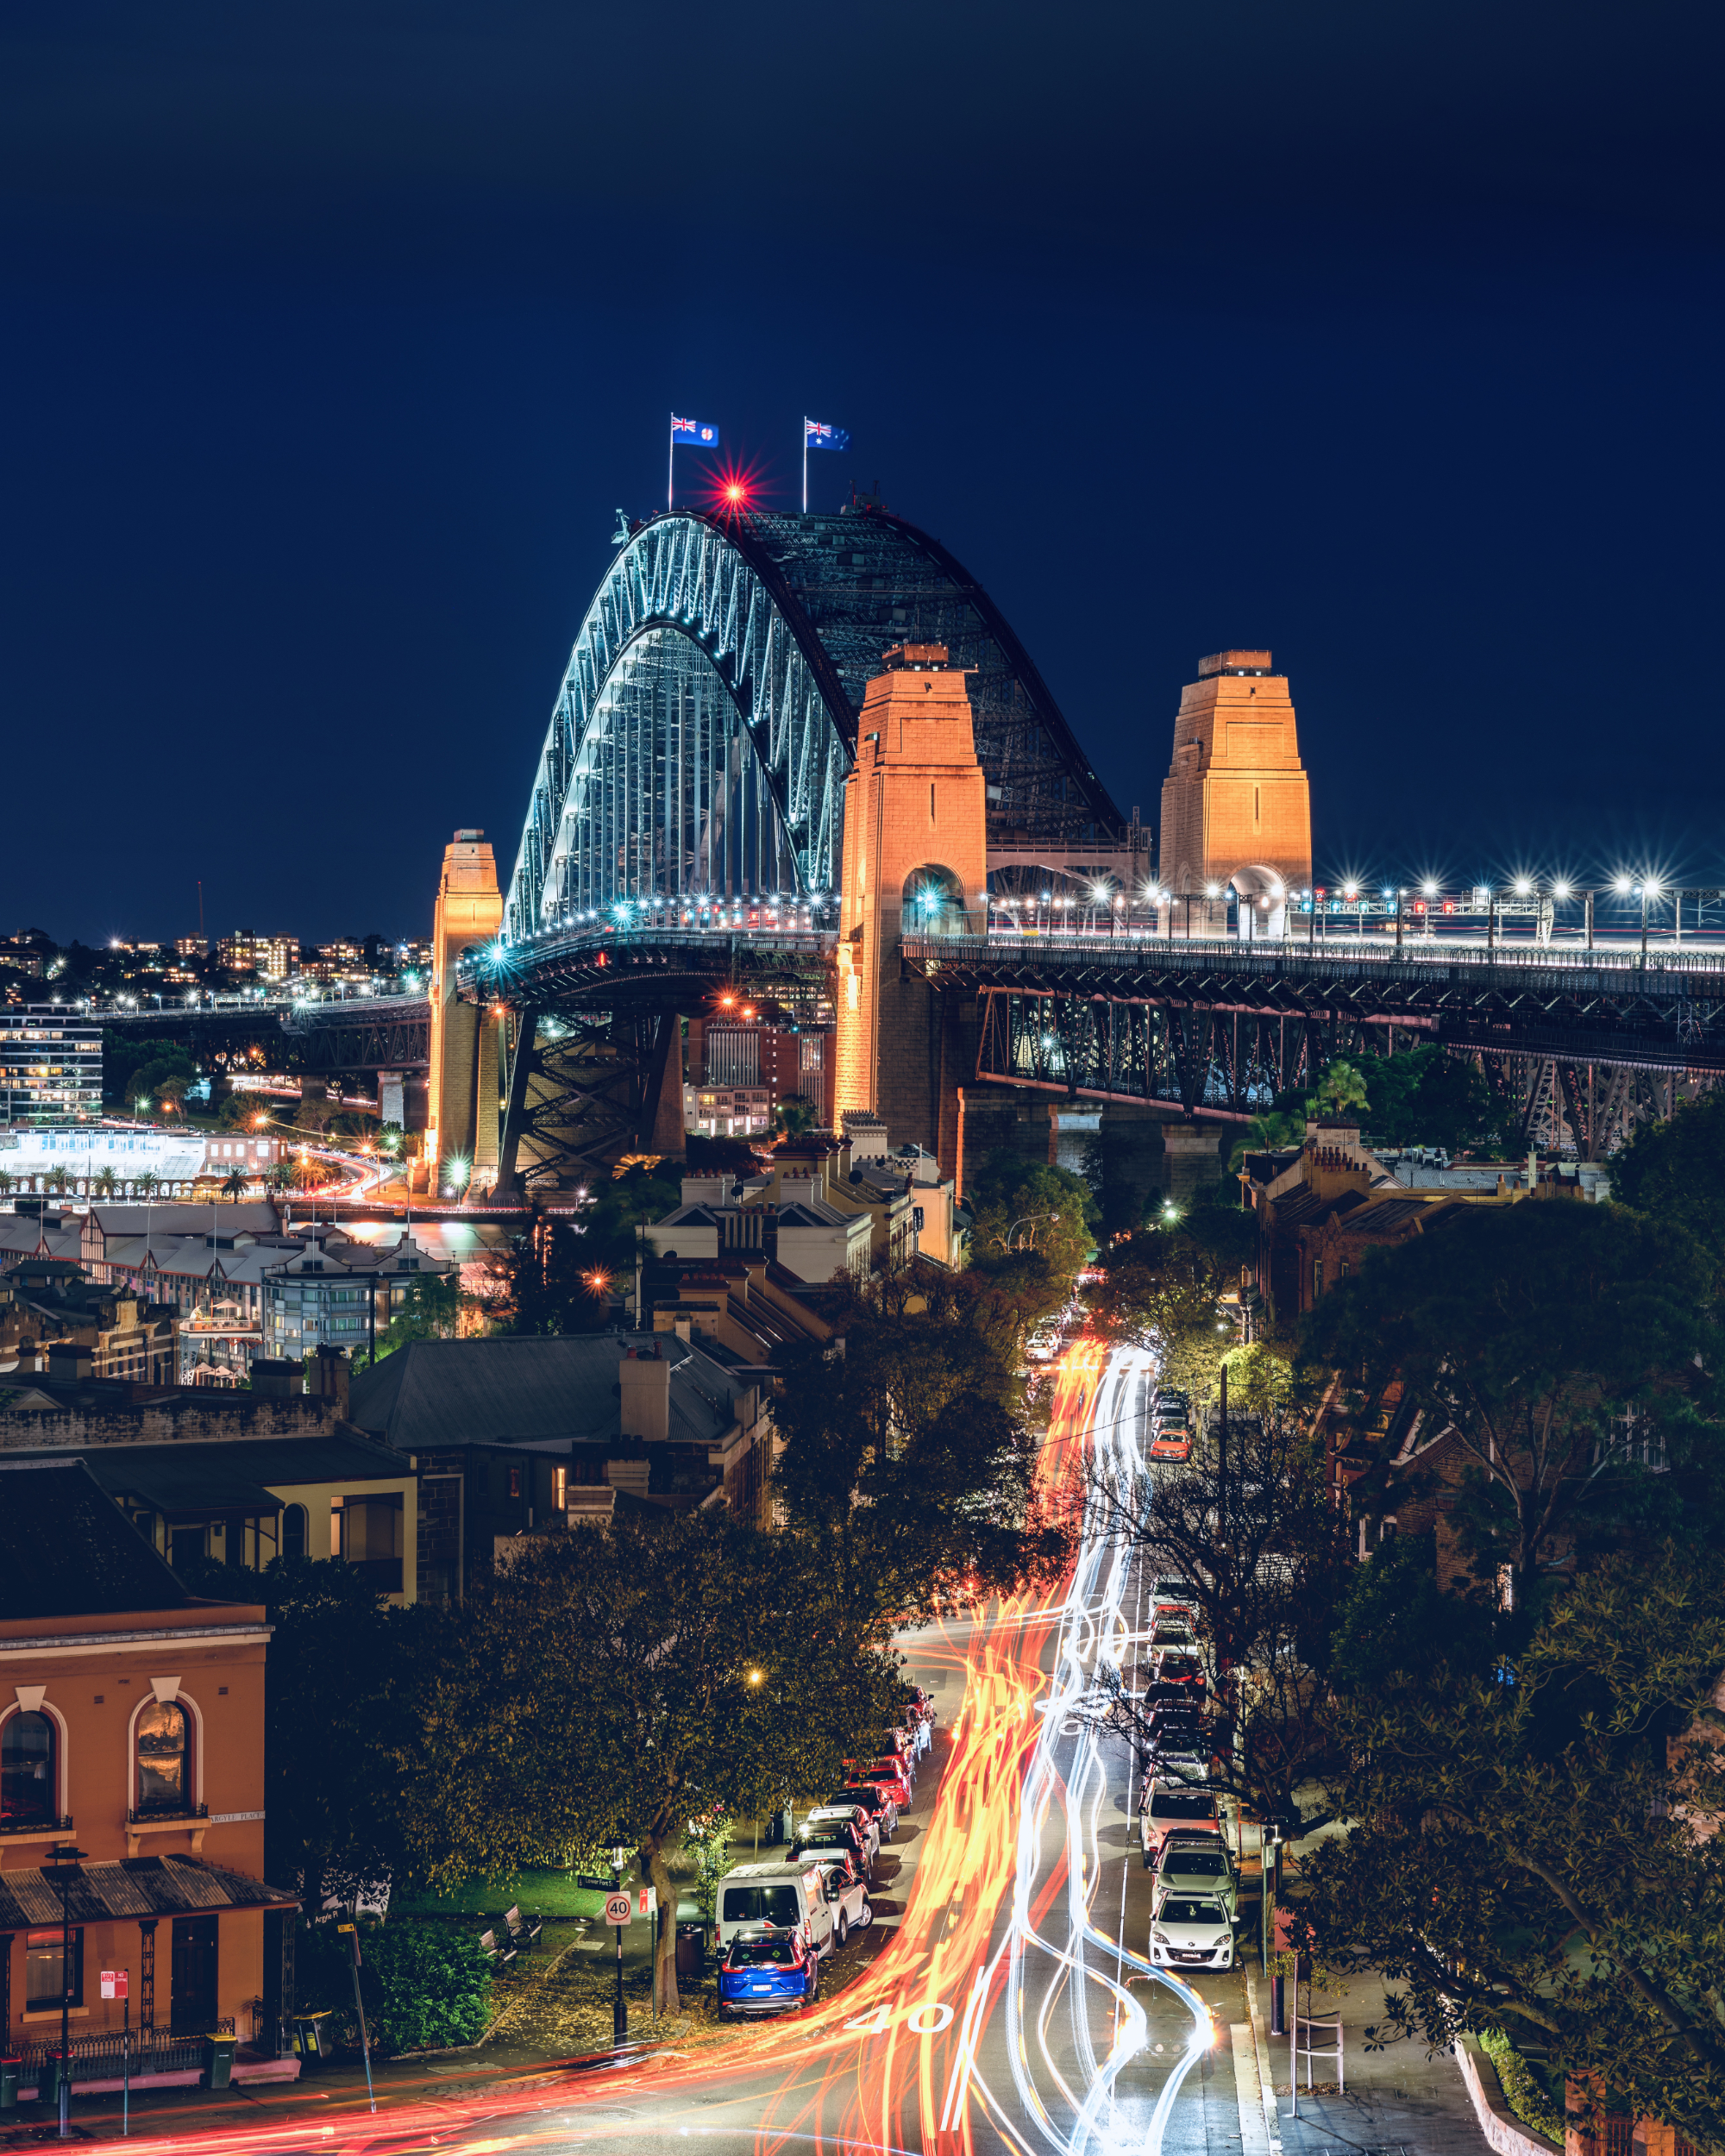
Longer Exposures for light trails
f/16
ISO100
90 seconds
RAW
Daylight While Balance (when using NiSi Natural Night Filter)
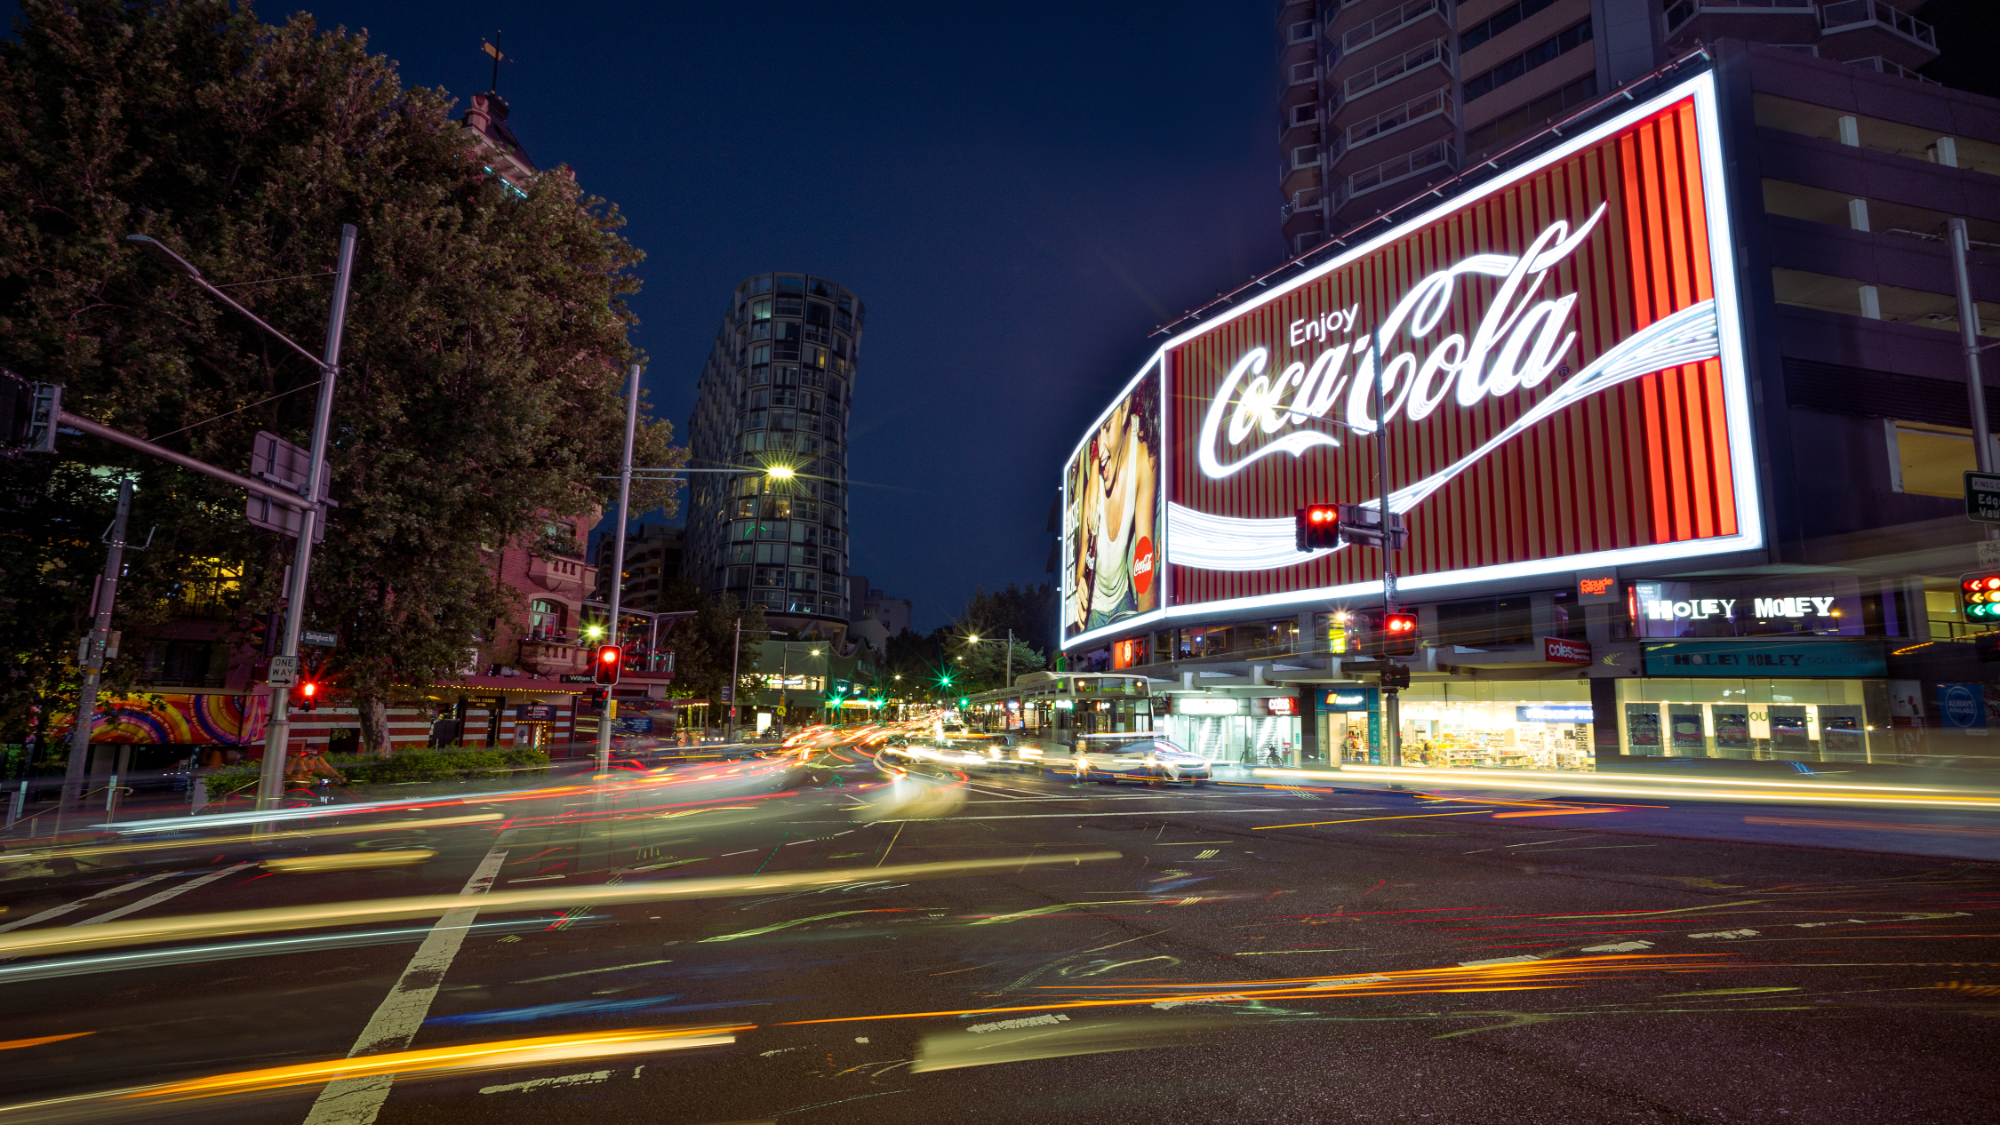
Longer Exposures to maintain details in moving vehicles
f/7
ISO400
1/2 seconds
RAW
Daylight While Balance (when using NiSi Natural Night Filter)
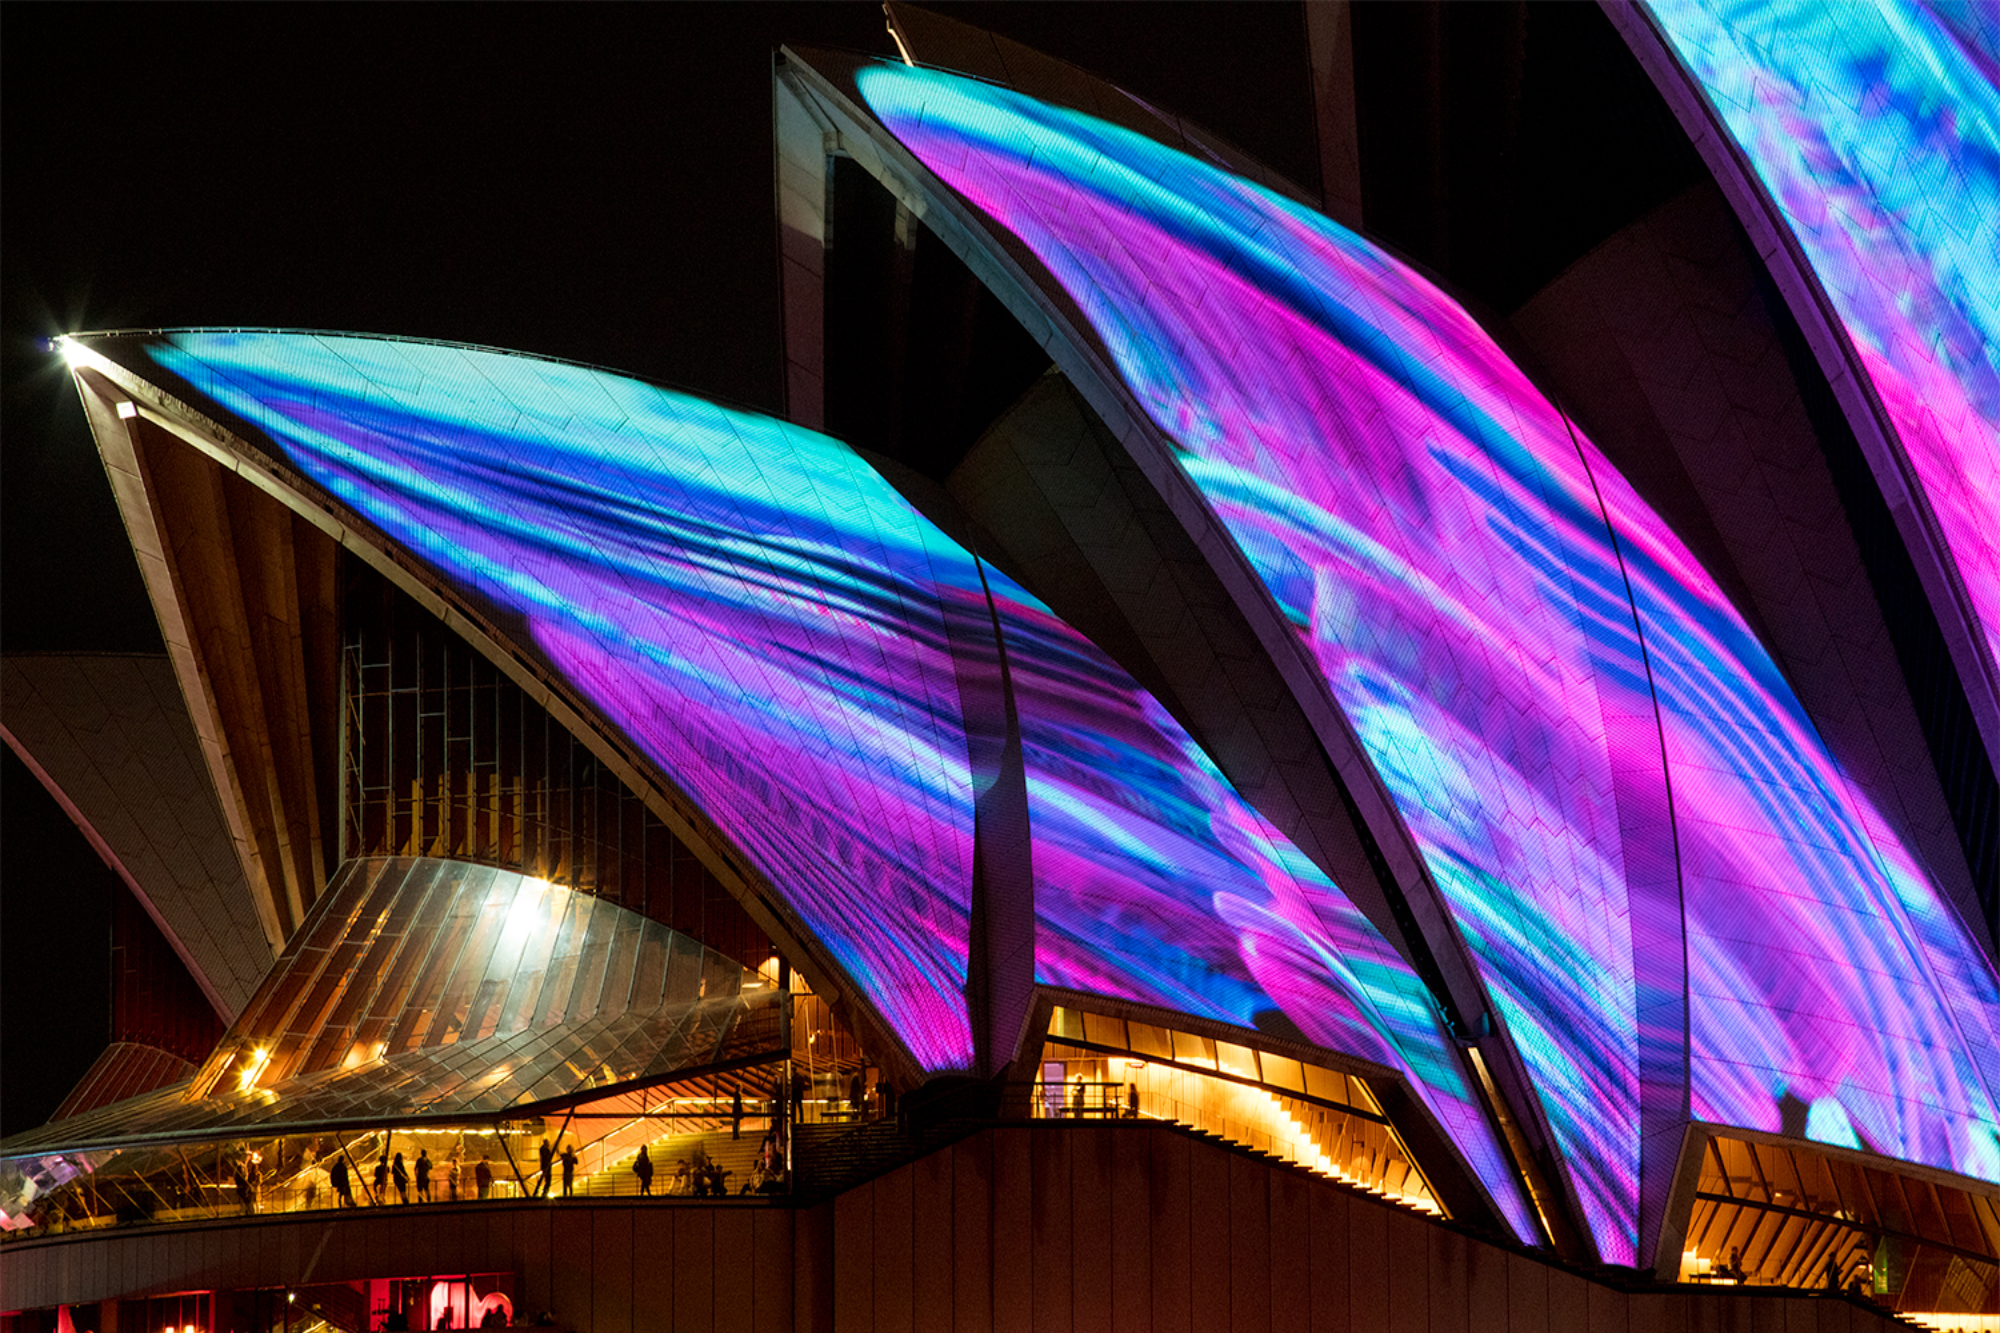
6. Expose for the highlights to maintain detail
The bright lights in night cityscape scenes are much brighter than the sky or other darker parts of scene. Pure white lights will overexpose and lose all details if you try to expose correctly for darker parts of the scene. If you are shooting a single exposure, try to expose for the brighter highlights in the image. Most modern day cameras will handle lifting details from midtones and shadow areas of the exposure if you are shooting in RAW.
Another trick is to shoot multiple exposures – to capture shadow detail and midtones – and another for the highlights. Using software like Adobe Photoshop, a process of blending the images through layer masking to reveal select parts of the image will help maintain detail throughout. This can give you a better overall exposure, colour detail and a balance between the various tonal ranges.
7. Use a NiSi Natural Night Filter
The NiSi Natural Night Filter is designed specifically for nighttime photography – and works by reducing the impact of certain spectrums of light which are commonly introduced from artificial light sources such at street lights / city lights. These lights emit a wavelength of light within the Sodium and Mercury spectrums and cause light haze / light pollution to appear as a yellow or orange colour cast throughout an image.
By blocking these wavelengths of light the Natural Night Filter can help ensure images are colour correct, have a reduction in colour “haze” and ensure images are sharp with maximum clarity throughout.
8. Look for reflections after rain
With rain, comes puddles of water, and the opportunity to shoot reflections.This can provide an extra element of photographic creativity for those willing to use them. The shiny concrete, brick and stone pavement surfaces are perfect for getting down low with a wide angle lens, bringing your foreground into your image and adding extra colour and depth into major parts of your images.
Pack an umbrella and set your creativity loose on the city streets after a decent downpour. Remember that while the rain is falling, puddles get displaced and don’t provide the clean reflections that happen after the rain stops.
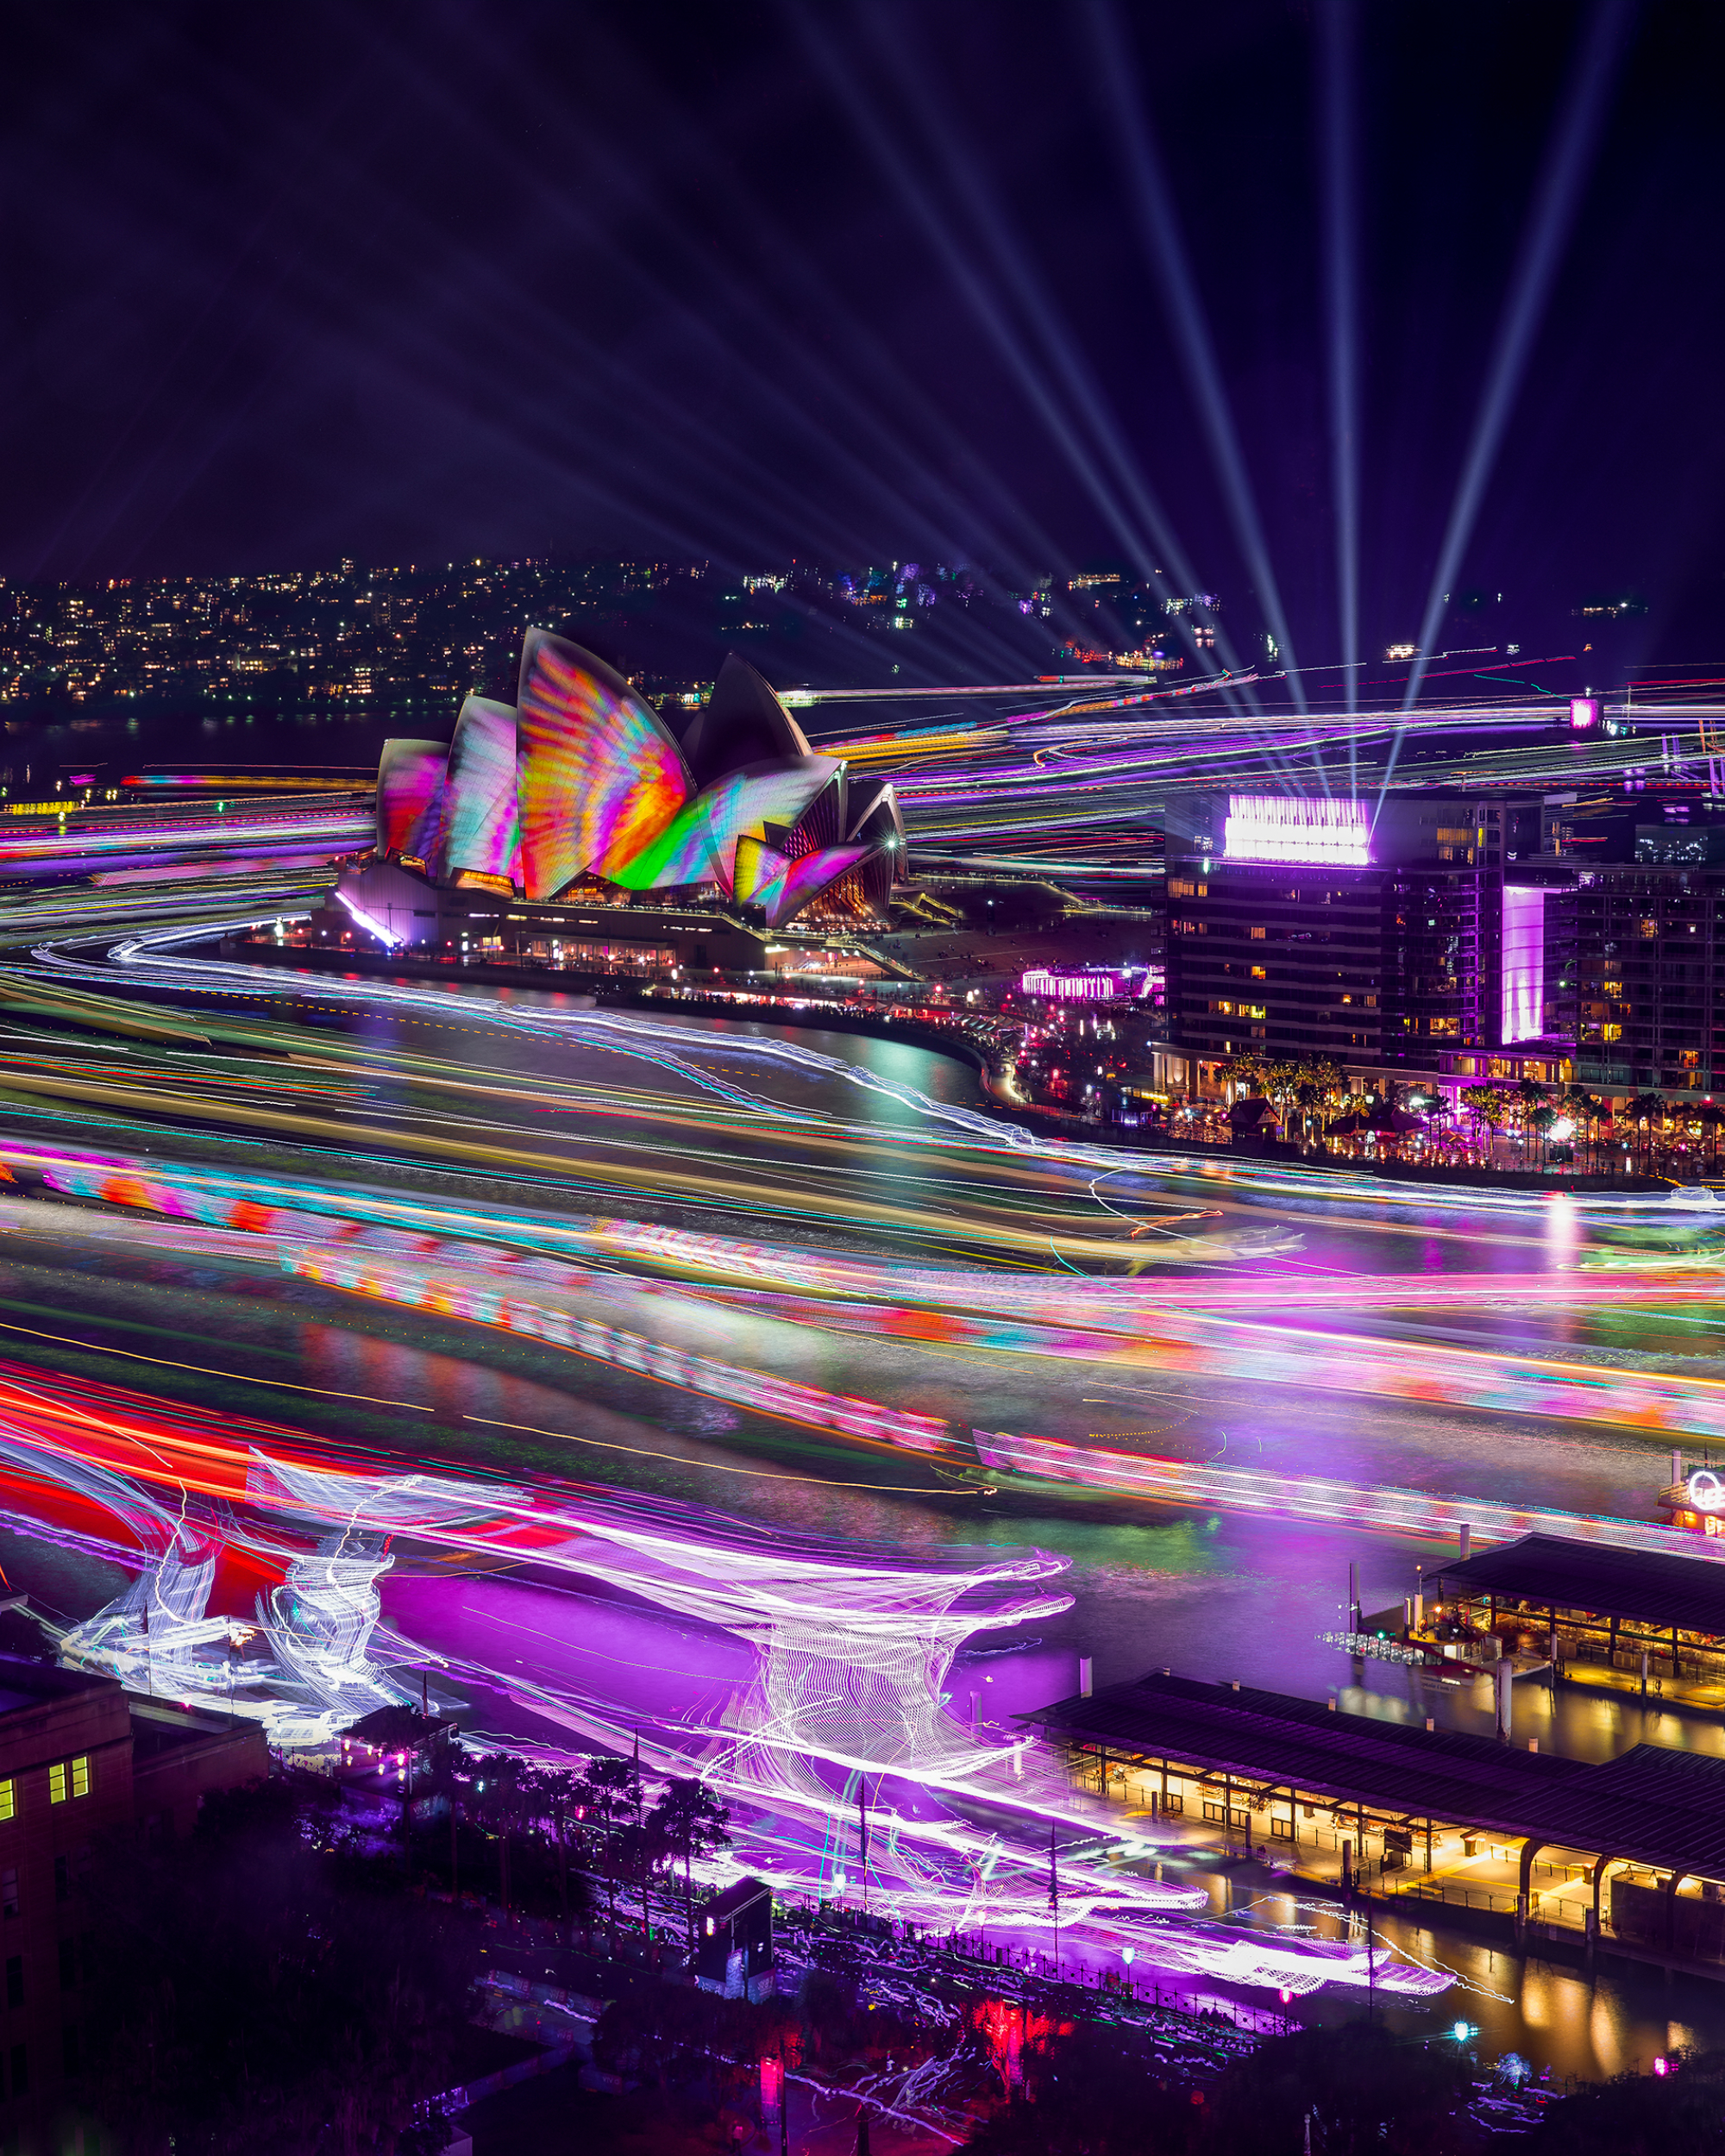
9. Stacking images in post processing
Stacking long exposure cityscape images is essentially the same process as creating star trails images in astro photography.
Capturing multiple images with the camera being completely stable and with absolutely no movement or changes in settings between the exposures allows you to create image stacks in post processing software like Adobe Photoshop. This is done using a process of masking and exposure blending. This allows you to capture multiple exposures over a long period of time, combine them and create a much more exaggerated sense of movement and time passing in your images.
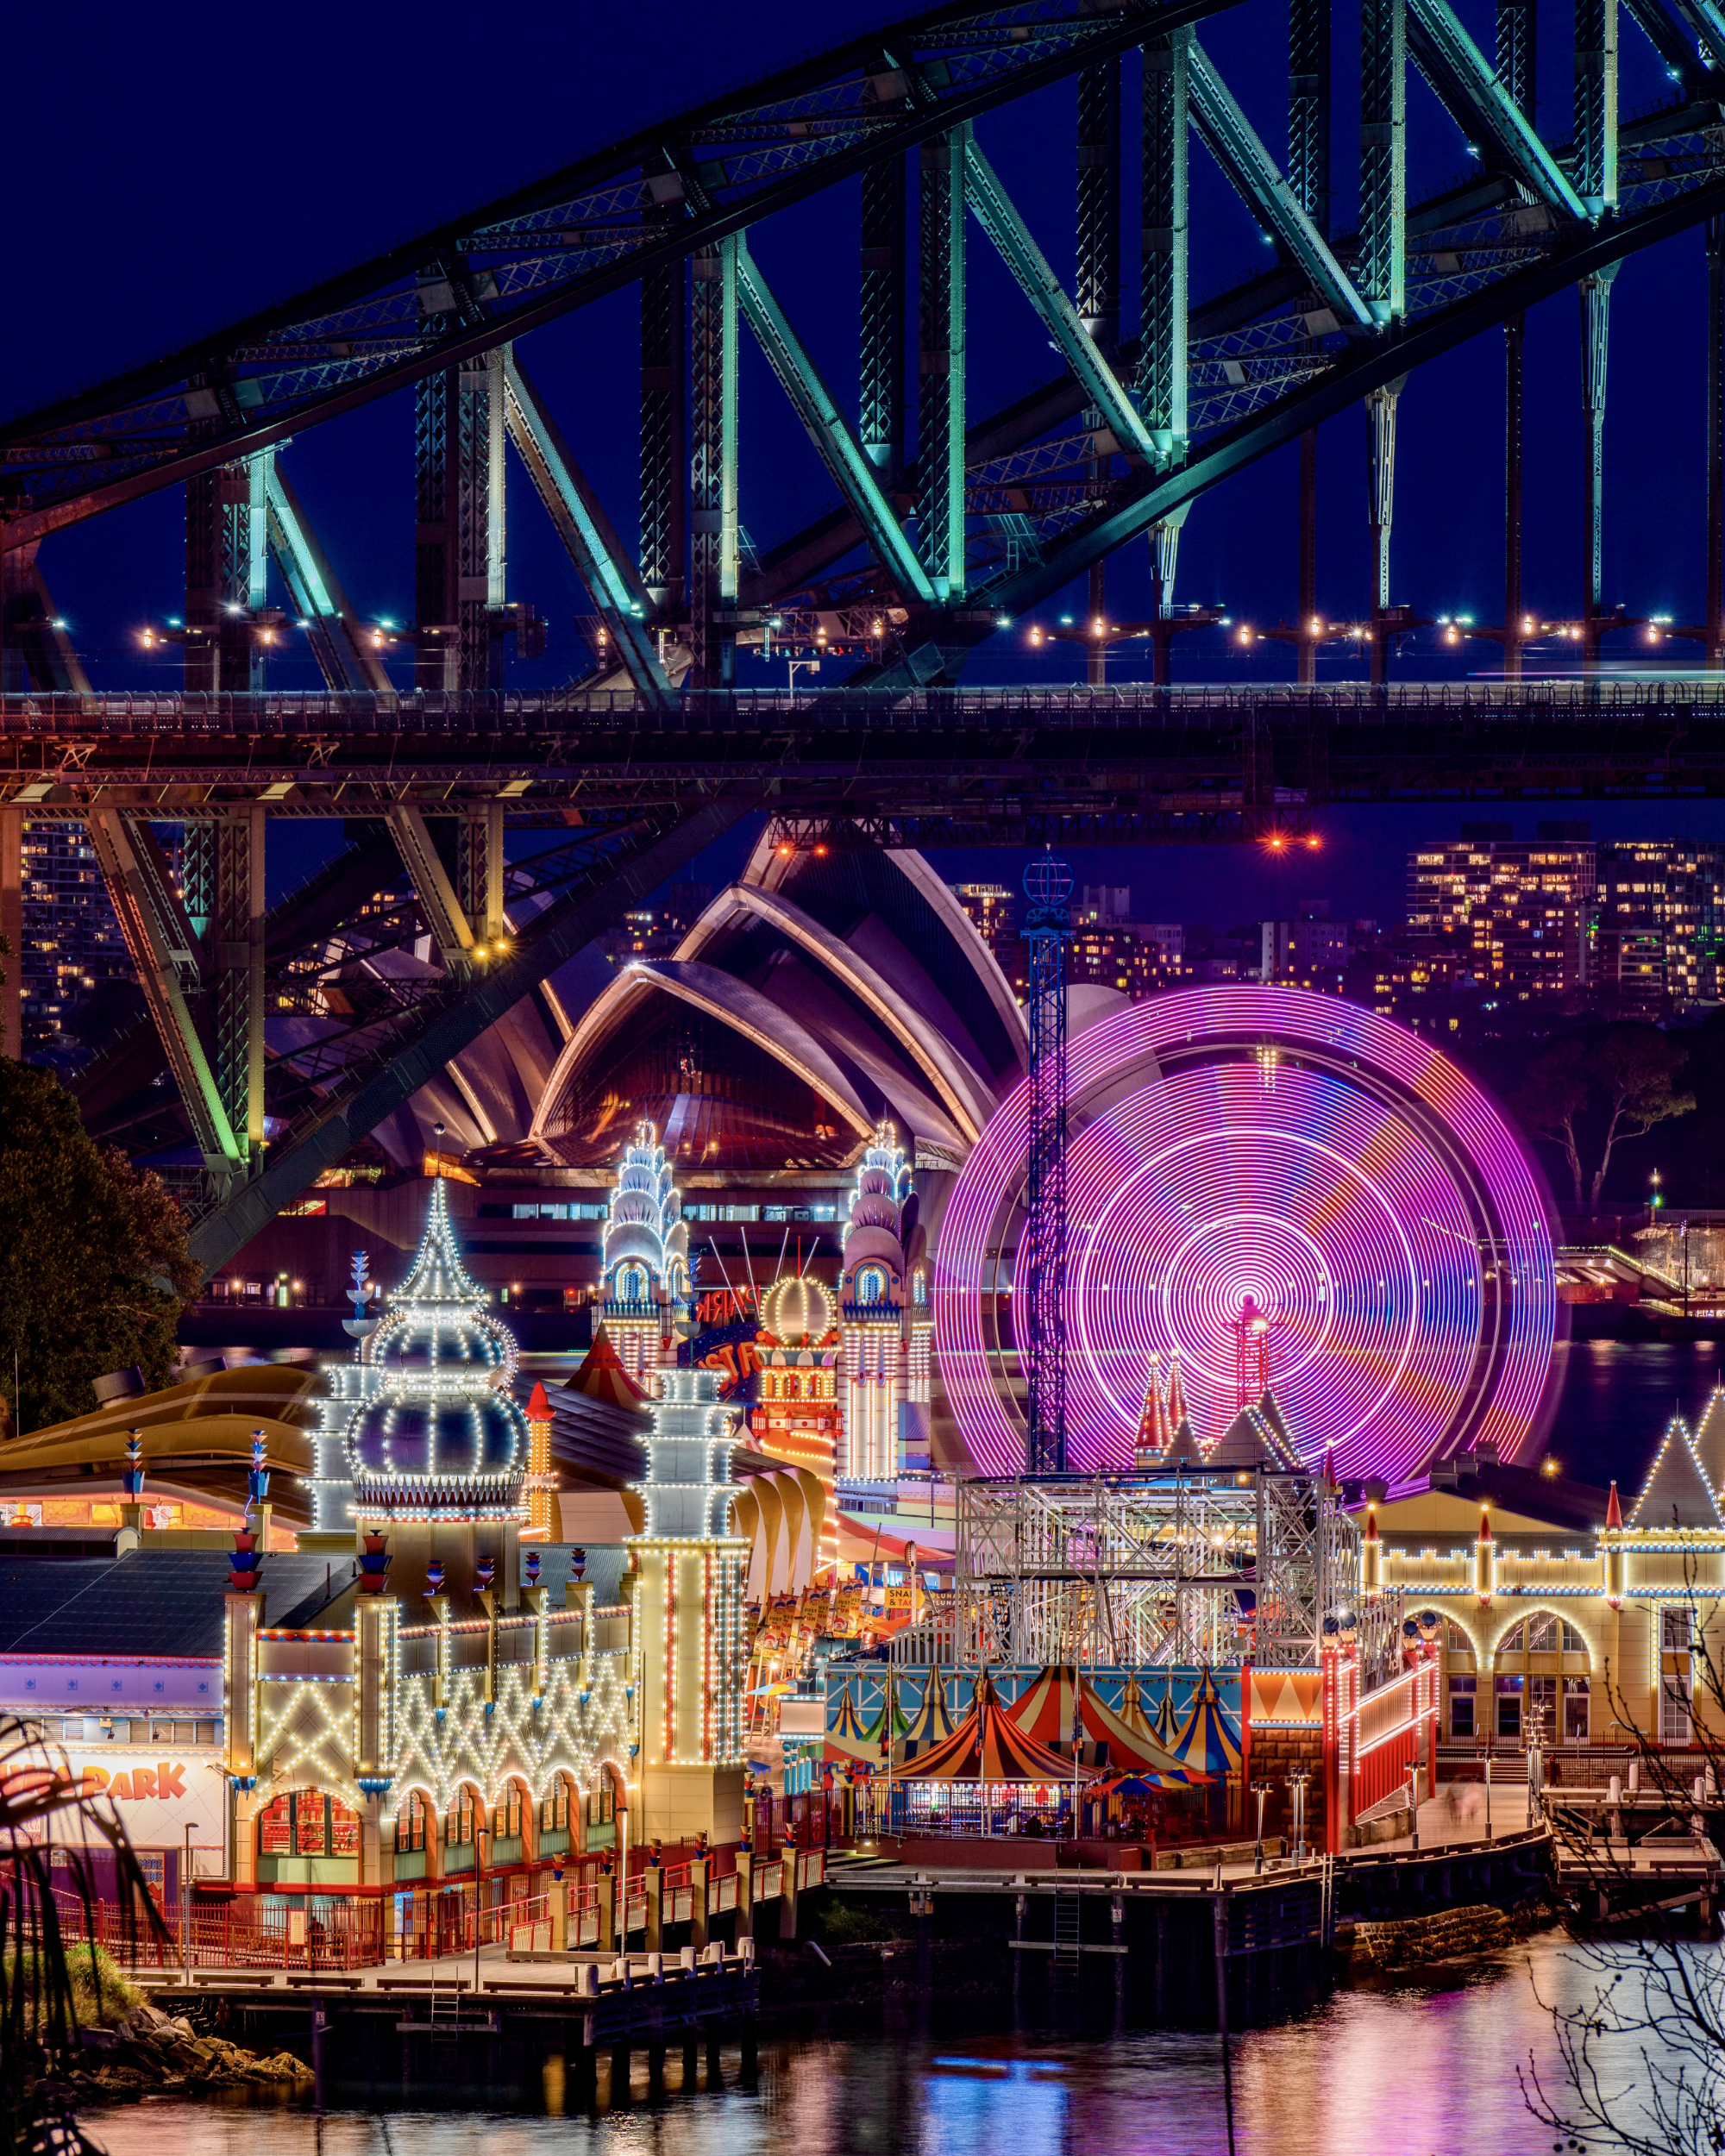
10. Experiment with different focal lengths
Change compositions through using various focal lengths and different lenses will completely change how the scenes in front of you are captured. Wide-angle lenses are great for getting up close to objects for added depth and to capture much wider scenes. A mid-range focal length such as a 24-70mm lens will provide focal widths closer to how the eye sees a scene. A telephoto lens is great for zooming in to magnify smaller details and for creating “compression” – the optical effect of bringing the background and the subject seemingly closer together.
Experiment with your focal lengths when you are shooting a scene. Change lenses, get up close to foreground elements, step back – and don’t forget to look behind you every now and then. You never know what incredible things you might see worth capturing!